Graph View
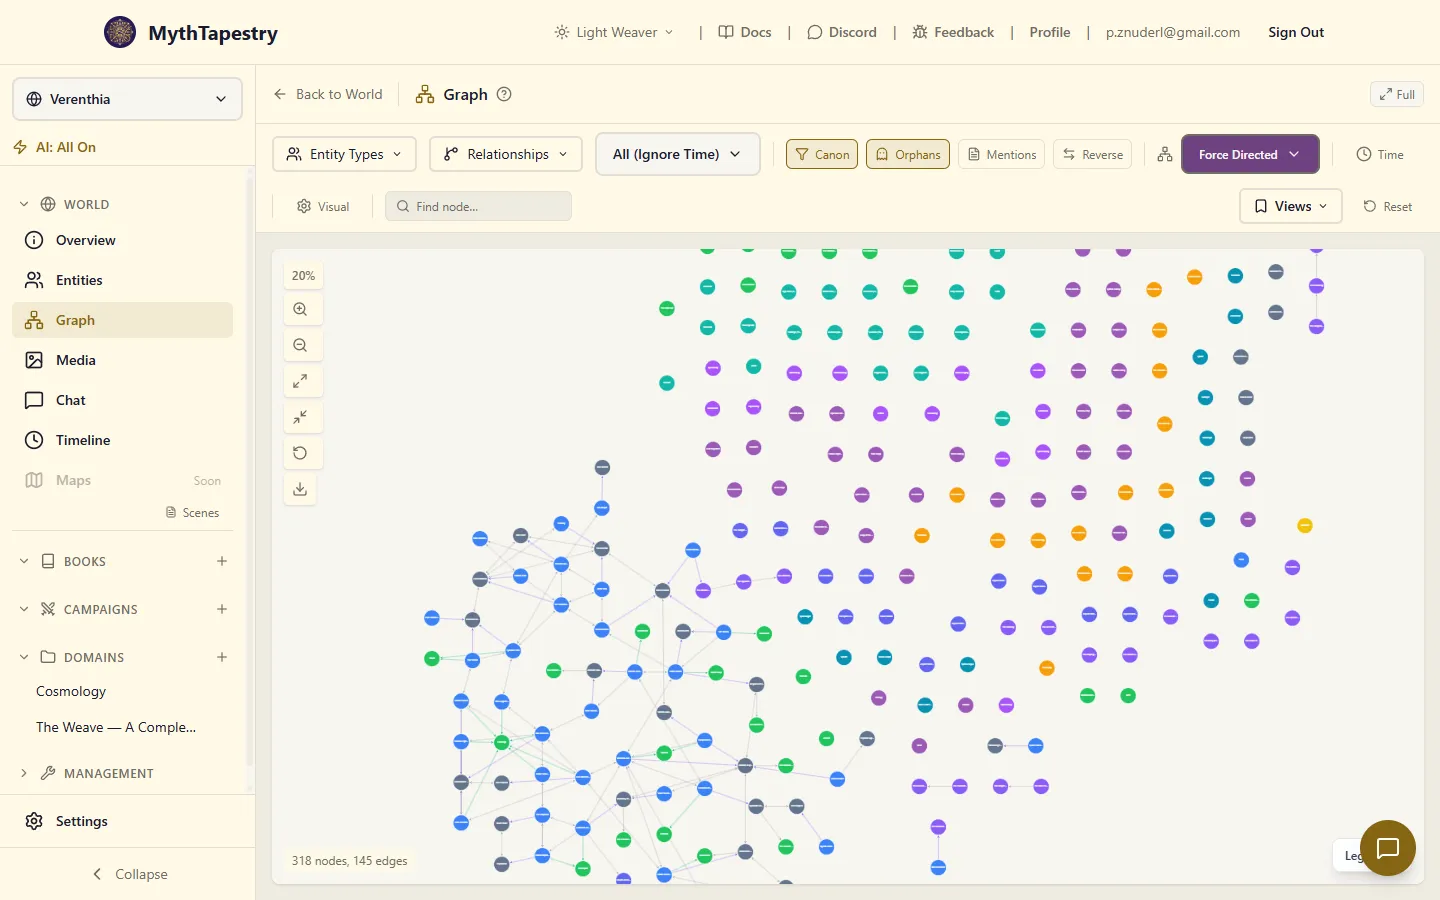
The graph view renders your knowledge graph as an interactive network visualisation. You can explore connections between entities, filter by type and time period, and save custom views.
Access points
Section titled “Access points”- World graph: Shows all entities and relationships in the world. Access via Graph in the world sidebar.
- Entity graph: Centres on a single entity and shows its neighbourhood. Access from an entity’s detail page.
Layout algorithms
Section titled “Layout algorithms”Four layout options are available in the toolbar:
| Layout | Best for | Description |
|---|---|---|
| Force-directed | Exploring complex networks | Physics simulation with attraction/repulsion. Default for all graphs. |
| Hierarchical | Showing parent-child or rank structures | DAG-based with top-down or left-right flow. Minimises edge crossing. |
| Circular | Equal emphasis on all nodes | Nodes arranged in concentric rings. |
| Concentric | Entity-focused exploration | Centre entity in the middle, surrounding rings by graph distance. |
Depth control
Section titled “Depth control”In entity-centred graphs, the depth control sets how many hops from the centre entity to display (1–5). At depth 1, you see only directly connected entities. At depth 5, you see entities up to 5 relationships away.
Temporal controls
Section titled “Temporal controls”The temporal bar lets you filter the graph by time period using your world’s calendar:
Point-in-time mode
Section titled “Point-in-time mode”Shows entities and relationships that were active at a specific moment. Useful for answering “what did the world look like on this date?”
Range mode
Section titled “Range mode”Shows entities and relationships active during a time span. Useful for seeing everything that was relevant during a war, a reign, or a season.
Playback
Section titled “Playback”The temporal bar includes playback controls that step through time:
- Play/Pause — auto-advance through time
- Speed — 0.5x, 1x, 2x, 4x
- Step forward/backward — move by calendar divisions (day, month, year)
- Timeline scrubber — drag to jump to a specific point
Entity type filters
Section titled “Entity type filters”Toggle which entity types are visible in the graph. Each type shows as a checkbox — uncheck types you want to hide. When you filter entity types, the available relationship type filters update automatically to show only types that connect the visible entity types.
Relationship type filters
Section titled “Relationship type filters”Toggle which relationship types are visible. Filtered by the currently selected entity types — only types that can connect visible entities are shown.
Mentions
Section titled “Mentions”The Mentions toggle in the toolbar (icon: 📄) overlays the content units (scenes, articles, sessions — whatever your content types are) that your visible entities are mentioned in.
When enabled, each mentioned content unit appears as a distinct dashed, rounded-rectangle node (clearly different from the circular entity nodes), connected to the entities it mentions by a mentioned in edge. This lets you see, at a glance, which documents reference a character, location, or item — and which entities tend to appear together in the same scenes.
Click a content-unit node to open its details in the sidebar (title, narrative importance, word count, summary) with an Open in Editor button that jumps straight to that document.
Reverse edges
Section titled “Reverse edges”The Reverse toggle in the toolbar (icon: ↔) controls how asymmetric relationships render.
For an asymmetric relationship like A is a member of B, MythTapestry stores two edges in the graph database:
- A primary edge from A to B with the type
MEMBER_OF - An auto-created reverse edge from B to A with the type
HAS_MEMBER
This lets each side describe the relationship in its own language (“I’m a member of B” vs “I have A as a member”) without you having to author both directions.
Off (default): Typically only the primary edge renders, so you see one arrow per logical relationship and the graph’s edge count agrees with the entity’s relationships list. (Legacy edges authored before the dual-edge architecture pre-date the is_primary flag and remain visible — if your world predates this change, you may still see both directions for some relationships.)
On: Both edges render. You’ll see two arrows between the connected entities — one labeled with the forward name (Member of) and one with the reverse name (Has member). Useful when you want both perspectives visible at the same time, or when debugging unexpected results.
The same toggle exists on the entity detail → Relationships tab (button labeled “Reverse edges”). It controls the relationship list and the embedded graph view together. Both views agree within whichever mode you’ve selected.
Symmetric relationships (e.g., Allied with, Married to) only ever have one edge; the toggle has no visible effect on them.
Field-based filters
Section titled “Field-based filters”For advanced filtering, add field constraints that filter entities or relationships by their property values. Field constraints appear as a chip bar below the main controls — click a chip to edit its operator or value.
Adding a constraint
Section titled “Adding a constraint”- Click the + button on an entity or relationship type chip to open the constraint editor.
- Choose a field from the dropdown (e.g. name, status, a custom attribute).
- Choose an operator (see table below).
- Enter a value in the text input and press Enter to confirm.
Operators
Section titled “Operators”| Operator | Applies to | Example |
|---|---|---|
| equals | Text, numbers | status equals “active” |
| not equals (≠) | Text, numbers | status ≠ “inactive” |
| contains | Text | name contains “council” |
| not contains | Text | name not contains “draft” |
| starts with | Text | name starts with “the” |
| ends with | Text | title ends with “lord” |
| regex | Text | name regex “^Lord\s” |
| = / ≠ | Numbers | age = 25 |
| > / ≥ | Numbers | age > 100 |
| < / ≤ | Numbers | level < 5 |
| between | Numbers | level between 1 and 10 |
| in | Enum / select fields | class in “warrior; mage; rogue” |
| not in | Enum / select fields | class not in “civilian” |
| related to | Reference fields | mentor related to “Seraphine” |
| not related to | Reference fields | faction not related to “Empire” |
| is empty / is not empty | All types | description is not empty |
| is true / is false | Boolean fields | is_active is true |
Case sensitivity
Section titled “Case sensitivity”Text operators (contains, equals, starts with, ends with, and their negations) are case-insensitive by default. Typing v will match “Valentina”, “village”, and “VAULT”.
OR alternatives within a filter (semicolons)
Section titled “OR alternatives within a filter (semicolons)”To show entities matching any one of several values, enter your terms separated by semicolons in the same value field:
- Type
valentina; grand inquisitorin a name contains constraint → matches entities whose name contains “valentina” or “grand inquisitor”. - Press Enter, Tab, or type a semicolon to commit each term as a separate chip inside the input.
- Click the × on any chip to remove that term.
- Each term is independently case-insensitive.
Combining multiple constraints
Section titled “Combining multiple constraints”When a type filter has more than one field constraint, the field logic setting (AND / OR, shown in the toolbar) controls how they are combined:
- AND (default) — an entity must satisfy all constraints to appear.
- OR — an entity appears if it satisfies any constraint.
This combines with the semicolon OR within a single constraint: name contains "valentina; grand inq" is an OR within that one constraint, applied regardless of the global AND/OR setting.
Visual rules
Section titled “Visual rules”Visual rules let you dynamically style nodes based on field values:
Size rules
Section titled “Size rules”Map a numeric field to node size. For example, make characters with more relationships appear as larger nodes.
- Property: size
- Entity type: which type this rule applies to
- Field: which numeric field drives the size
- Min/Max pixels: size range
- Scale type: linear, logarithmic, or square root
- Null behaviour: default size, minimum, or maximum for entities missing the field
Opacity rules
Section titled “Opacity rules”Map a field to node transparency. For example, fade out archived entities.
- Same configuration as size rules, but controls opacity (0–1)
Active visual rules appear as badges in the toolbar so you can see what styling is applied.
Saved views
Section titled “Saved views”Save your current graph configuration — filters, depth, layout, temporal mode — as a named view that you can restore later.
- Create: Save current state with a name and optional description
- Apply: Restore all settings from a saved view
- Update: Overwrite a saved view with current settings
- Set as default: Automatically load this view when opening the graph
- Delete / Rename: Manage saved views
Saved views are stored per world, so different worlds can have different default views.
Compact mode
Section titled “Compact mode”Toggle compact mode to reduce the toolbar to a single condensed line. This gives more screen space to the graph while keeping all controls accessible via dropdowns. Compact mode is enabled by default.
Fullscreen mode
Section titled “Fullscreen mode”The Fullscreen button in the graph header expands the graph to fill the entire window, hiding the app’s top navigation and the world sidebar. The filter toolbar stays in place, and the details sidebar still opens when you select a node or edge — so you keep every control while gaining the maximum amount of canvas.
Available on both the world graph and the entity-centred graph. Press Esc or click Exit to return to the normal layout.
Interacting with the graph
Section titled “Interacting with the graph”Mouse controls
Section titled “Mouse controls”| Action | Effect |
|---|---|
| Click node | Select node and open details sidebar (content-unit nodes show document details with an Open in Editor button) |
| Click edge | Select edge and show relationship details |
| Double-click node | Centre and zoom in on that node |
| Ctrl/Cmd + click node | Navigate directly to entity detail page (no effect on content-unit nodes) |
| Right-click | Context menu (create entity, create relationship, focus, delete) |
| Drag node | Reposition it in the layout |
| Box select | Click and drag on empty space to select multiple nodes |
| Scroll wheel | Zoom in/out |
| Click + drag background | Pan the view |
Keyboard shortcuts
Section titled “Keyboard shortcuts”| Shortcut | Action |
|---|---|
| Ctrl/Cmd + E | Toggle edge actions mode (hover nodes to see quick-create actions) |
| Ctrl/Cmd + Shift + E | Open bulk entity creation modal |
| Esc | Exit fullscreen mode |
Edge actions mode
Section titled “Edge actions mode”When edge actions are enabled (via the toolbar toggle or Ctrl+E), hovering over a node reveals action buttons on its edges. Click these to quickly create relationships between entities without opening a separate dialog.